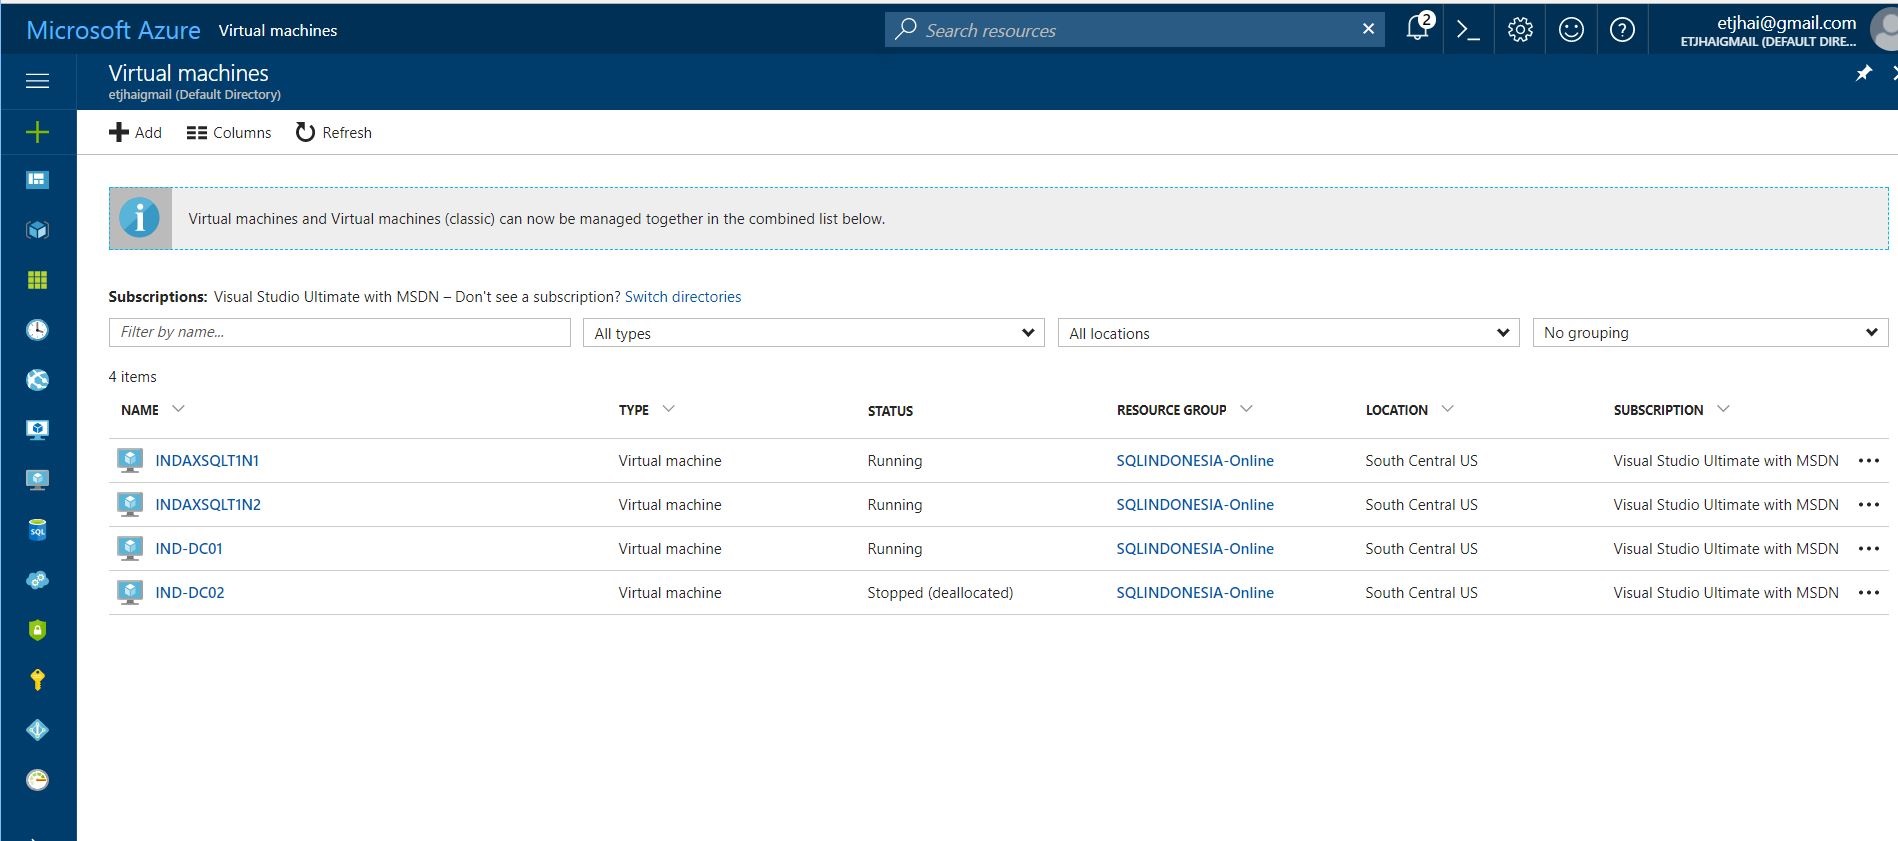
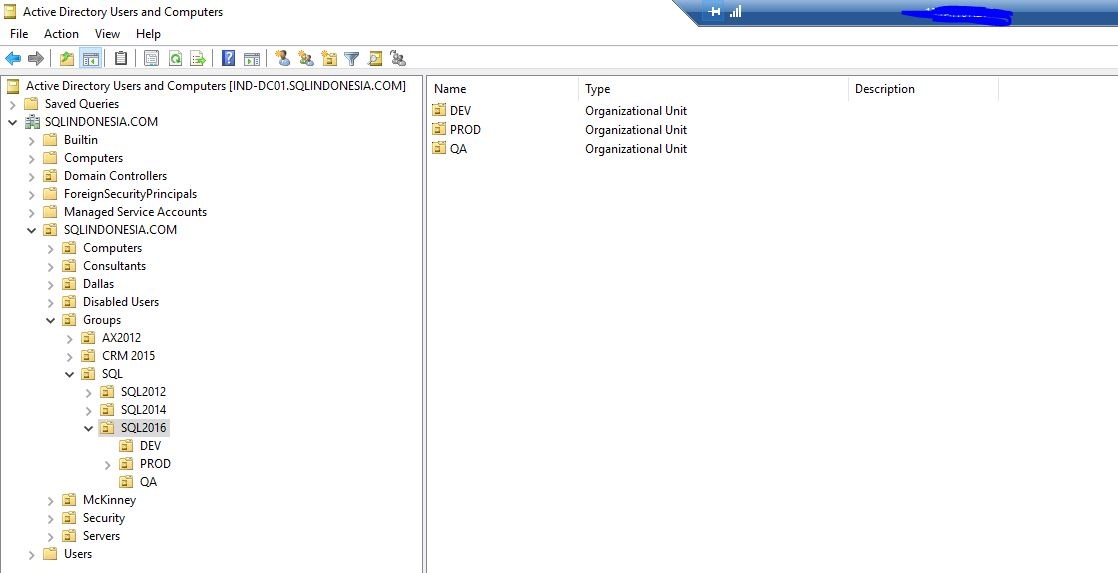
I am continuing my IT learning journey and have successfully set up two nodes for Microsoft SQL Server 2016 clustering on Azure. There are several preparations that must be completed, including: 1. Setting up Azure Networking 2. Installing Windows Server 2012 R2 3. Configuring the Domain Controller 4. Setting up Windows Server Clustering 5. Installing Microsoft SQL Server 2016 Clustering 6. Configuring SQL service accounts, SQL ports, firewall settings, etc.
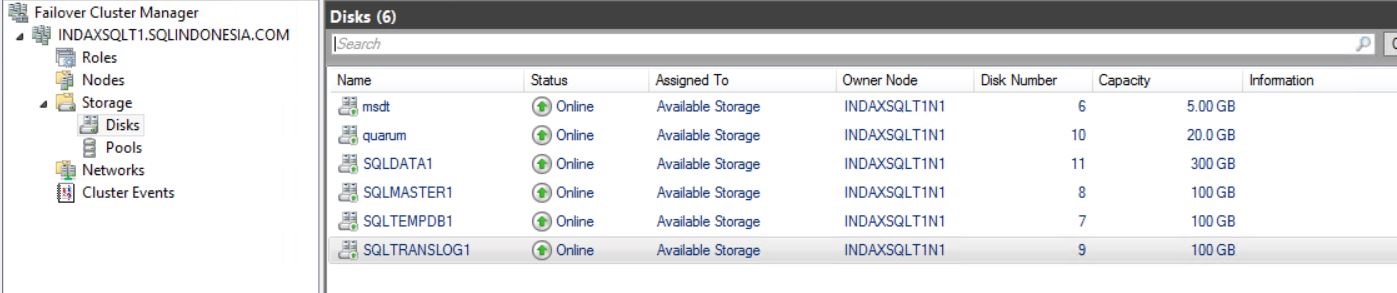
Additionally, I have set up the necessary storage configurations, such as: – msdt – quorum – SQLDATA1 – SQLMASTER1 – SQLTEMPDB1 – SQLTRANSLOG1 – SQLBACKUP1
This process has been both challenging and rewarding, enhancing my skills in IT infrastructure.
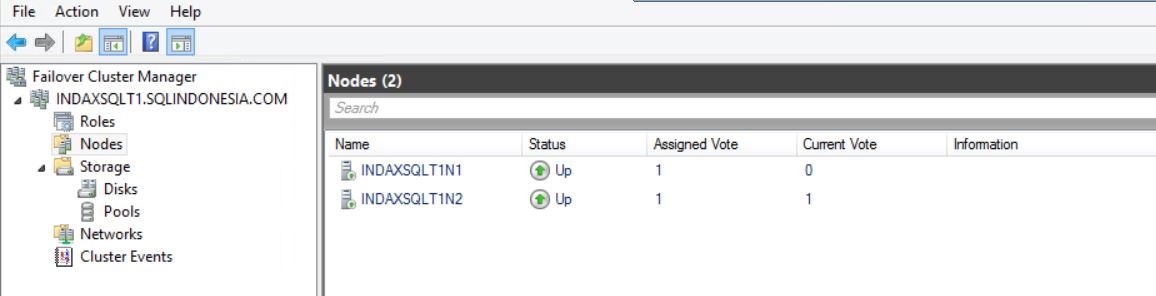
Node 1 and Node 2 information
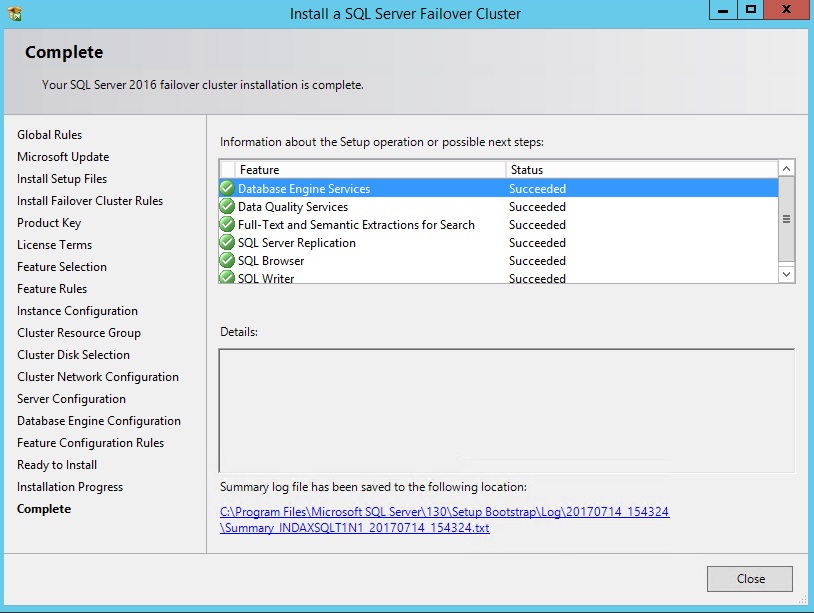
Next, I initiated the Microsoft SQL Server 2016 setup on Node1 and Node2. I ran Setup.exe as an administrator, agreed to the license terms, and selected the instance features. The Database Engine Services option (along with SQL Server Replication, Full-Text Search, and Data Quality Services) was automatically selected

Uncheck DHCP and enter the virtual IP address for this instance. You may need to enter the Subnet Mask if this is the very first installation of sql on this box. Leave the Network name as is.

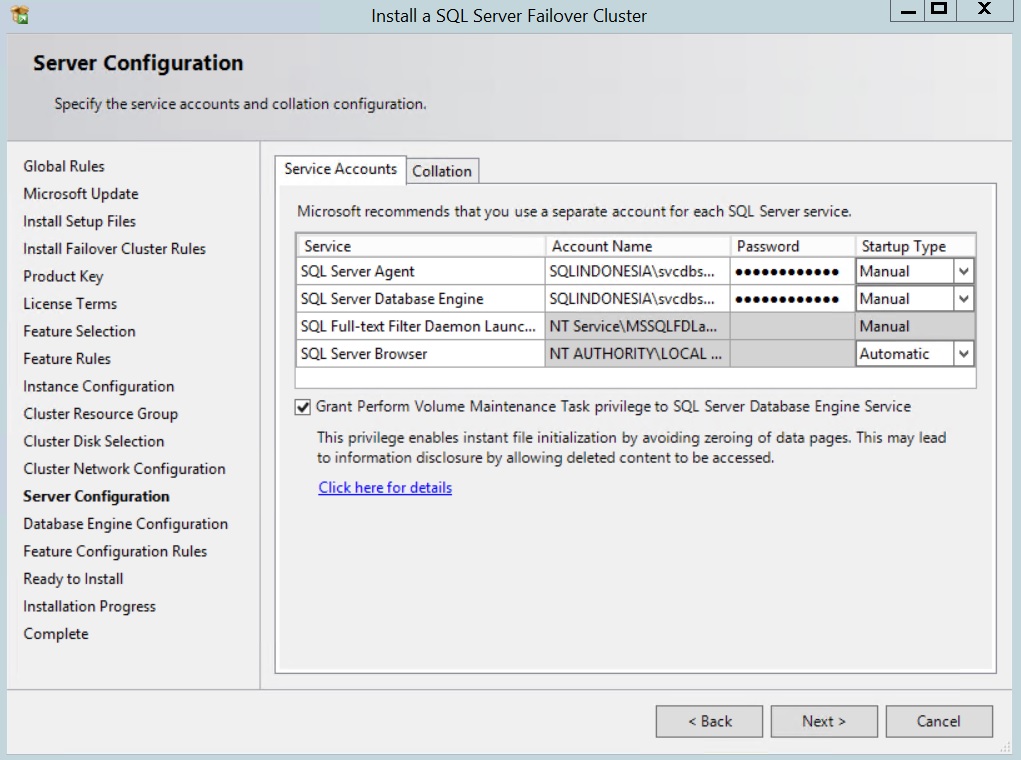
Enter an account and password for each service. Leave startup type as manual because it is a cluster.
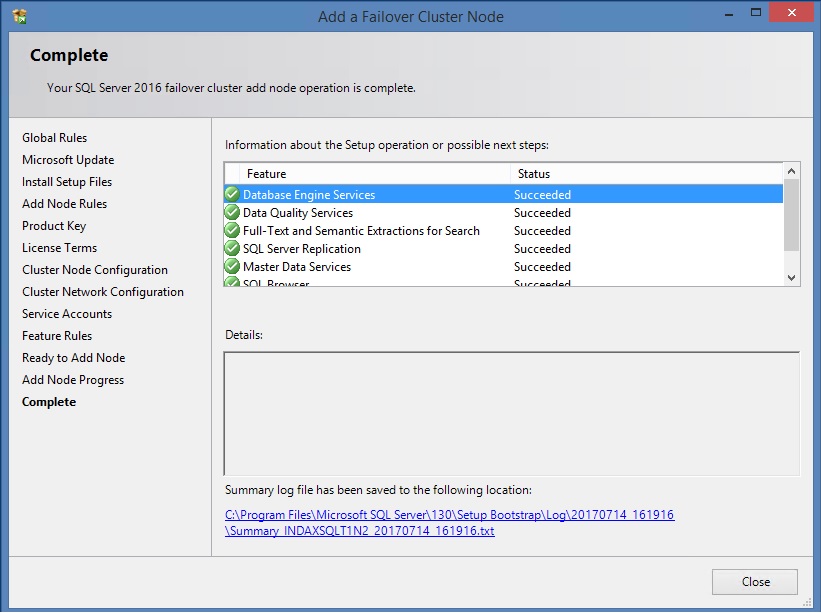
Adding the second nodes


Leave a comment